Building a driveway gate on your own can be an incredibly rewarding project, not only for the sense of accomplishment but also for the significant savings on labor costs. Learning how to build a driveway gate yourself allows you to customize the gate to suit your style and functional needs, ensuring it perfectly matches your property. Whether you are looking for enhanced security, better privacy, or simply want to boost curb appeal, constructing your own gate is an achievable goal with the right materials and guidance.
In this comprehensive guide, we’ll walk you through everything you need to know about how to build a driveway gate. From planning and choosing materials to executing the construction process, we’ll cover each step in detail. By following these instructions, you’ll be able to successfully complete your DIY driveway gate project while saving money on installation costs. With the right preparation, tools, and techniques, you can achieve a professional-level result, even as a beginner.

Planning and Preparation
Assess Your Needs and Space
Before starting the construction of a driveway gate, it’s important to assess the space where you intend to install it. Consider the size and type of gate you want based on your driveway’s layout. Measure the width of the driveway and decide how tall the gate needs to be for your security and privacy needs. Driveway gates can be designed in various styles, including swing, sliding, or pivot gates, and the choice will depend on the space available and the overall look you are trying to achieve.
- Swing gates are popular for their simple, classic design, but they require enough space for the gate to open inward or outward.
- Sliding gates work well if you have limited space since they move along a track horizontally.
- Pivot gates are more modern and take up minimal space, making them ideal for smaller driveways.
It’s also a good idea to check with your local zoning laws and homeowner’s association (if applicable) to ensure that your gate design complies with any regulations regarding size, height, or placement.
Gather Materials and Tools
Once you’ve decided on the gate type and size, it’s time to gather the necessary materials. You’ll need high-quality materials to ensure the gate is sturdy and long-lasting. Common materials for driveway gates include wood, steel, and aluminum. For a DIY project, wood is a popular choice due to its versatility, affordability, and ease of handling.
Here’s a general list of materials you might need:
- Treated lumber or metal (depending on the type of gate)
- Gate posts (wood, metal, or concrete)
- Hinges (heavy-duty, rust-resistant)
- Fasteners (screws, bolts, nails)
- Gate latch or lock
- Gravel and concrete mix (for setting posts)
For tools, ensure you have the following on hand:
- Measuring tape
- Saw (circular or table saw for cutting wood)
- Post hole digger
- Power drill
- Level
- Wrench
- Shovel
- Concrete mixing tools
Draw a Blueprint
Having a clear design or blueprint for your driveway gate is essential. You don’t need to be an architect to sketch a rough design, but make sure the dimensions, style, and layout are well thought out. Include measurements of the gate width and height, as well as where you will place the posts. Your blueprint will act as a visual guide, ensuring you stay on track during the construction process.
Building the Gate
Installing the Gate Posts
The first step in the actual construction of the driveway gate is setting up the gate posts. These posts will serve as the structural foundation of your gate, so it’s important that they are securely placed.
- Dig Post Holes: Using a post hole digger, dig holes that are about 2-3 feet deep and 12 inches wide. The depth of the holes will depend on the height of your gate—larger gates may require deeper holes to ensure stability.
- Prepare the Posts: If you’re using wooden posts, treat them with a wood preservative to protect them from rot and insects. For metal posts, ensure they are rust-proof.
- Set the Posts: Place the posts in the holes, making sure they are level and plumb. Pour a few inches of gravel at the bottom of each hole to aid in drainage. Then, fill the holes with a concrete mix to secure the posts. Allow the concrete to set for at least 24 hours before attaching the gate to ensure they are stable.
Building the Gate Frame
Next, you’ll construct the gate frame, which will hold the panels or pickets in place.
- Cut the Lumber: Measure and cut your treated lumber according to the dimensions you outlined in your blueprint. You’ll need two horizontal rails and two vertical stiles to form the outer frame of the gate.
- Assemble the Frame: Lay the cut lumber on a flat surface and attach the horizontal rails to the vertical stiles using wood screws or metal brackets. Be sure to use rust-resistant fasteners to prevent corrosion over time.
- Add Cross Supports: To strengthen the gate, add diagonal cross braces running from the bottom corner to the opposite top corner of the frame. This helps prevent the gate from sagging over time.
Attaching Gate Panels or Pickets
Once the frame is built, you can add the panels or pickets to complete the gate’s structure.
- Attach the Panels or Pickets: If you’re using solid panels, attach them to the gate frame with screws or nails, ensuring they are evenly spaced. For picket-style gates, attach the individual pickets vertically along the frame, making sure each one is level and spaced consistently.
- Trim and Finish: Once the pickets are attached, trim any excess wood or uneven edges. Sand the surface to smooth it out, and apply a weather-resistant sealant or paint to protect the wood from the elements.
Hanging the Gate
With the gate fully constructed, it’s time to hang it on the posts.
- Attach the Hinges: Position the heavy-duty hinges on the gate frame and align them with the gate posts. Use a level to ensure the gate is straight and even, then attach the hinges to the posts using long bolts or screws.
- Test the Gate: Once the hinges are secured, swing the gate open and closed to ensure it operates smoothly. Make any necessary adjustments to the hinges or gate alignment to prevent sagging or sticking.
Installing a Gate Latch or Lock
The final step in building your driveway gate is installing a latch or lock mechanism to secure it.
- Choose a Latch or Lock: Depending on your security needs, you can choose a simple latch for easy opening or a more secure lock that requires a key or combination to open.
- Install the Latch: Position the latch at a convenient height and attach it to the gate with screws. Make sure it aligns properly with the latch receiver on the opposite post to ensure a tight, secure closure.
Finishing Touches
Add Decorative Elements
Now that your driveway gate is fully functional, you may want to add decorative elements to enhance its appearance. Consider adding decorative hardware, such as wrought-iron accents, finials, or custom carvings. These small details can significantly elevate the aesthetic appeal of your DIY gate, giving it a more personalized and professional finish.
Weatherproofing the Gate
To ensure the longevity of your garage gate, it’s important to protect it from the elements. Apply a coat of waterproof sealant or weatherproof paint to shield the wood or metal from rain, humidity, and UV rays. Regular maintenance, such as repainting or resealing every few years, will keep your gate looking great and functioning properly for years to come.
FAQs About How to Build a Driveway Gate
1. How to build a driveway gate step by step?
Building a driveway gate involves several steps, from planning to installation. Here’s a step-by-step guide:
- Plan and Design: Measure the width of your driveway to determine the size of the gate. Decide on the gate’s height and type (swing or sliding) and choose a material (wood, steel, aluminum, etc.). Ensure your design fits both your aesthetic and functional needs, including space for opening and closing.
- Gather Materials: Based on your design, purchase the required materials like metal or wood for the gate, hinges, posts, screws, and concrete for the posts. If making an automatic gate, include the automation kit.
- Install the Gate Posts: Dig holes for the gateposts at the correct spacing (a few inches wider than the gate itself). The depth should be about 1/3 of the post length to provide stability. Set the posts in place and fill the holes with concrete. Make sure the posts are level and allow the concrete to cure.
- Build the Gate Frame: Create a sturdy frame using your chosen material. For wooden gates, assemble the frame with treated wood and screws. For metal gates, weld or bolt the frame components together. Ensure it’s square and aligned correctly.
- Add Slats or Panels: Attach the panels, boards, or slats to the frame. For privacy and security, leave minimal gaps between the boards, while aesthetic gates may have wider spacing.
- Install Hinges or Sliding Mechanism: Attach the hinges securely to the gate and posts for swing gates, or install the sliding track and wheels for sliding gates. Ensure the gate opens and closes smoothly.
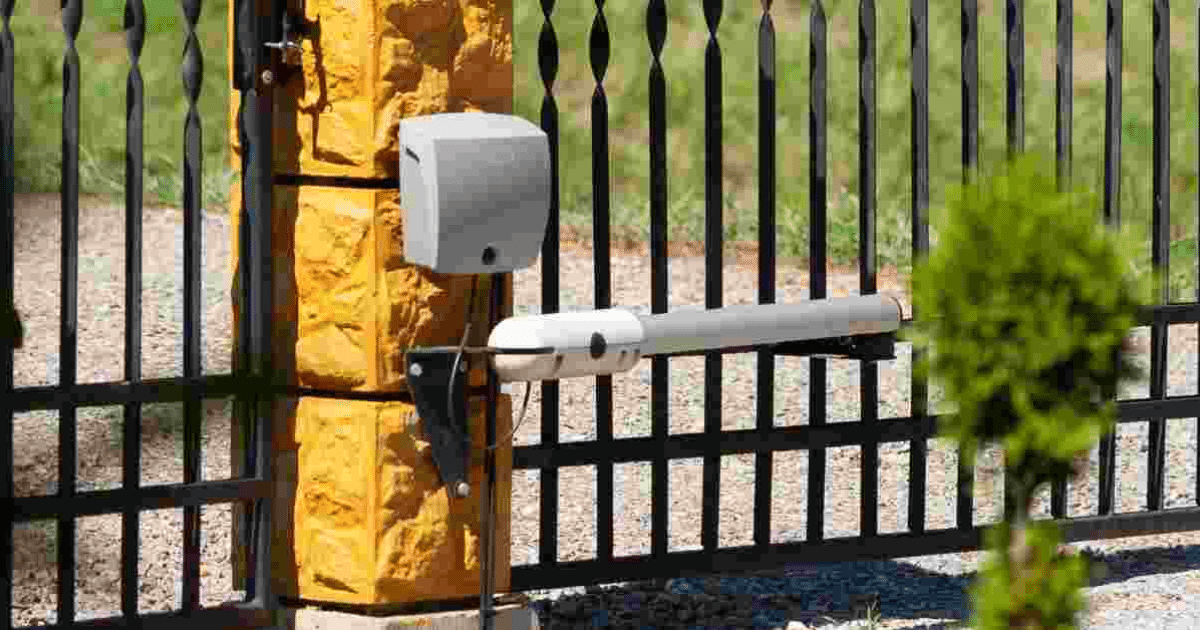
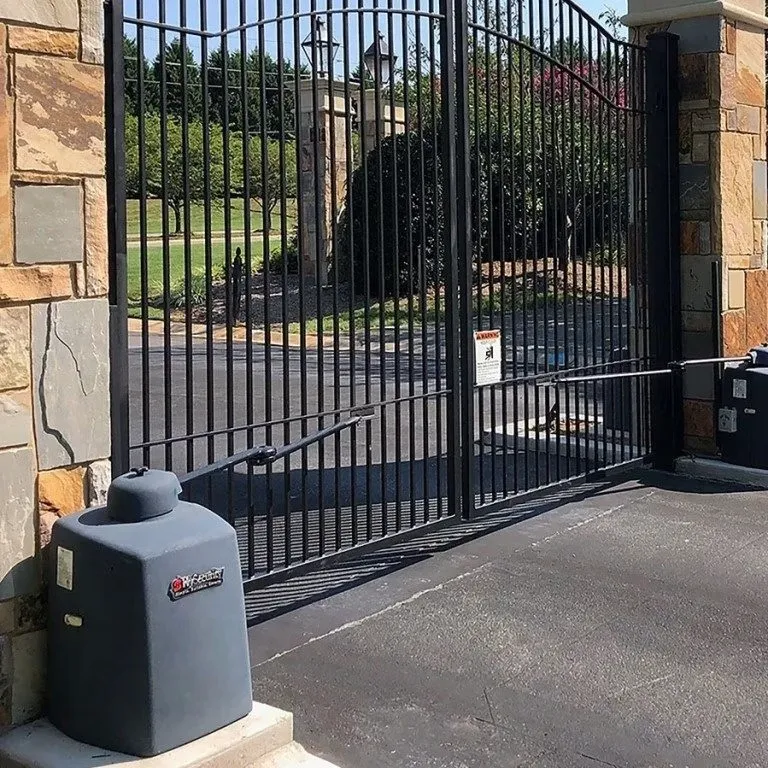
- Attach Automation (Optional): If it’s an electric gate, install the motor, wiring, and control system according to the manufacturer’s instructions. Test the system to ensure proper functionality.
- Test and Adjust: Open and close the gate several times to check for smooth operation. Make adjustments as needed for balance or alignment.
2. How do I choose a driveway gate?
Consider factors such as space, material, security, and budget when choosing a driveway gate. First, assess your driveway layout to determine whether a swing gate or a sliding gate is more appropriate—swing gates require more space to open while sliding gates work well in tighter spaces. Next, choose a material that balances aesthetics and durability—wrought iron and steel are very durable and secure, while wood offers a more traditional look but requires more maintenance. Additionally, think about automation and security features like remote controls, keypads, or intercoms. Finally, ensure the garage gate complements your home’s design and fits within your budget.
3. What is the most secure type of driveway gate?
The most secure type of driveway gate is a sliding steel gate. Sliding gates are difficult to force open because they move along a track, making it harder for intruders to manipulate. Steel is a strong, durable material that provides excellent resistance to tampering or forced entry. For maximum security, consider adding automation features like remote controls, keypads, and surveillance cameras. A tall gate with minimal gaps between slats also helps prevent climbing or squeezing through. For properties with high-security concerns, incorporating electric gates with motion sensors or alarms offers an additional layer of protection.
4. What is the best height for a driveway gate?
The best height for a driveway gate typically ranges from 6 to 8 feet. Gates of this height provide a good balance between privacy, security, and aesthetics. Taller gates offer more privacy by blocking the view of the property from the street, and they make it harder for potential intruders to climb over. However, the gate height should also complement the size and style of the home and adhere to local zoning regulations, which may restrict maximum gate heights. In urban areas or properties requiring extra security, opting for an 8-foot-tall gate can enhance both protection and privacy.
5. How far off the ground should a driveway gate be?
A driveway gate should typically be installed 3 to 6 inches off the ground. This clearance ensures that the gate can open and close smoothly without scraping the ground, especially on uneven driveways. If you live in an area with heavy snow or debris, you might need more clearance to prevent obstruction. However, the gap should not be too large, as this can compromise security by allowing small animals or intruders to crawl underneath. The exact clearance may also depend on the type of gate (swing or sliding) and the slope of your driveway.
Conclusion
Building a driveway gate on your own can be a rewarding and cost-effective way to enhance the security, privacy, and curb appeal of your property. By following this detailed guide on how to build a driveway gate, you’ll be able to complete a DIY project that offers both practical benefits and aesthetic improvements. Whether you’re opting for a simple wooden gate or a more advanced design, the key to success lies in careful planning, quality materials, and precise execution.
For homeowners who want a professionally installed gate without the hassle of DIY, Central Valley Gates & Access Controls is here to help. We specialize in delivering top-quality driveway gates that combine elegance and functionality.
End Note
Central Valley Gates & Access Controls is your trusted partner for all your driveway gate needs. As a full-service automatic driveway gate company, we are committed to providing fast, friendly service and the highest quality driveway gate installation and repair at affordable prices. Explore our range of pivot gates and advanced maximum control systems to find the perfect solution for your property. Check out our reviews to see what our customers say about us, and when you’re ready to begin, contact us for a free consultation!